Settings
The Settings window (⌘,) provides access to all tradumak preferences, organized into seven tabs.
Subscription

Manage your Premium subscription. Shows current subscription status (Free or Premium Active), with buttons to:
- Upgrade to Premium — Opens the in-app paywall to start a subscription.
- Manage Subscription — Opens the App Store subscription management page in your browser.
- Restore Purchases — Syncs your purchase history from Apple’s servers (useful after reinstalling the app or switching Macs).
For full details on what Premium includes and how feature gating works, see the Subscription & Premium page.
General
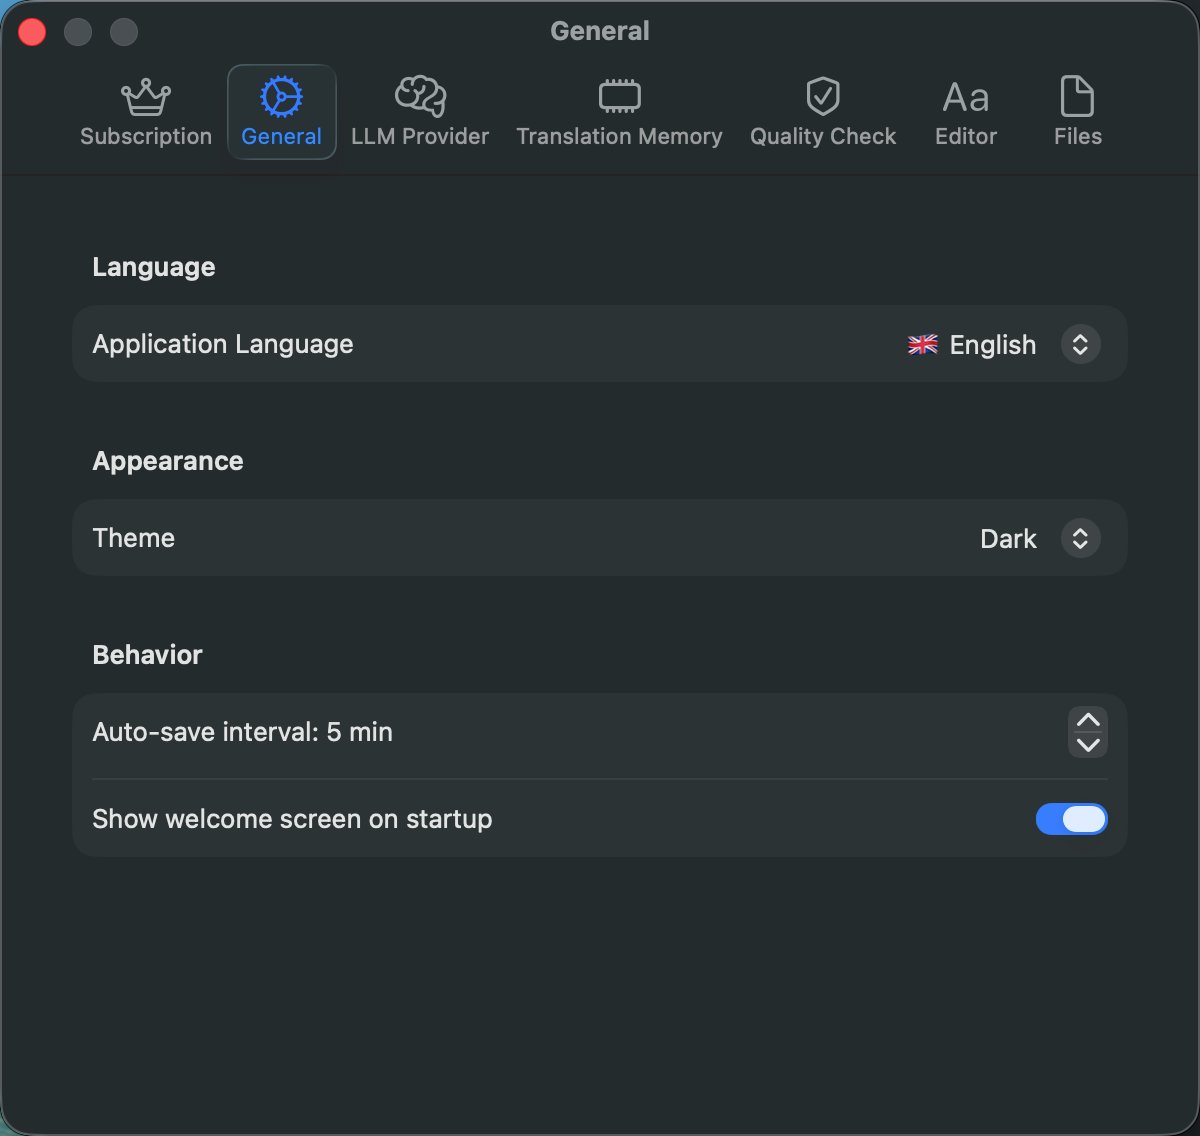
- Application Language — Choose the interface language. tradumak is fully localized in English, Spanish, French, and Turkish.
- Theme — Currently fixed to Dark mode for optimal visual contrast on translation work.
- Auto-save interval — How often unsaved changes are written to disk (1–30 minutes, default 5).
- Show welcome screen on startup — When enabled, the welcome screen appears each time you launch the app without an open project.
LLM Provider
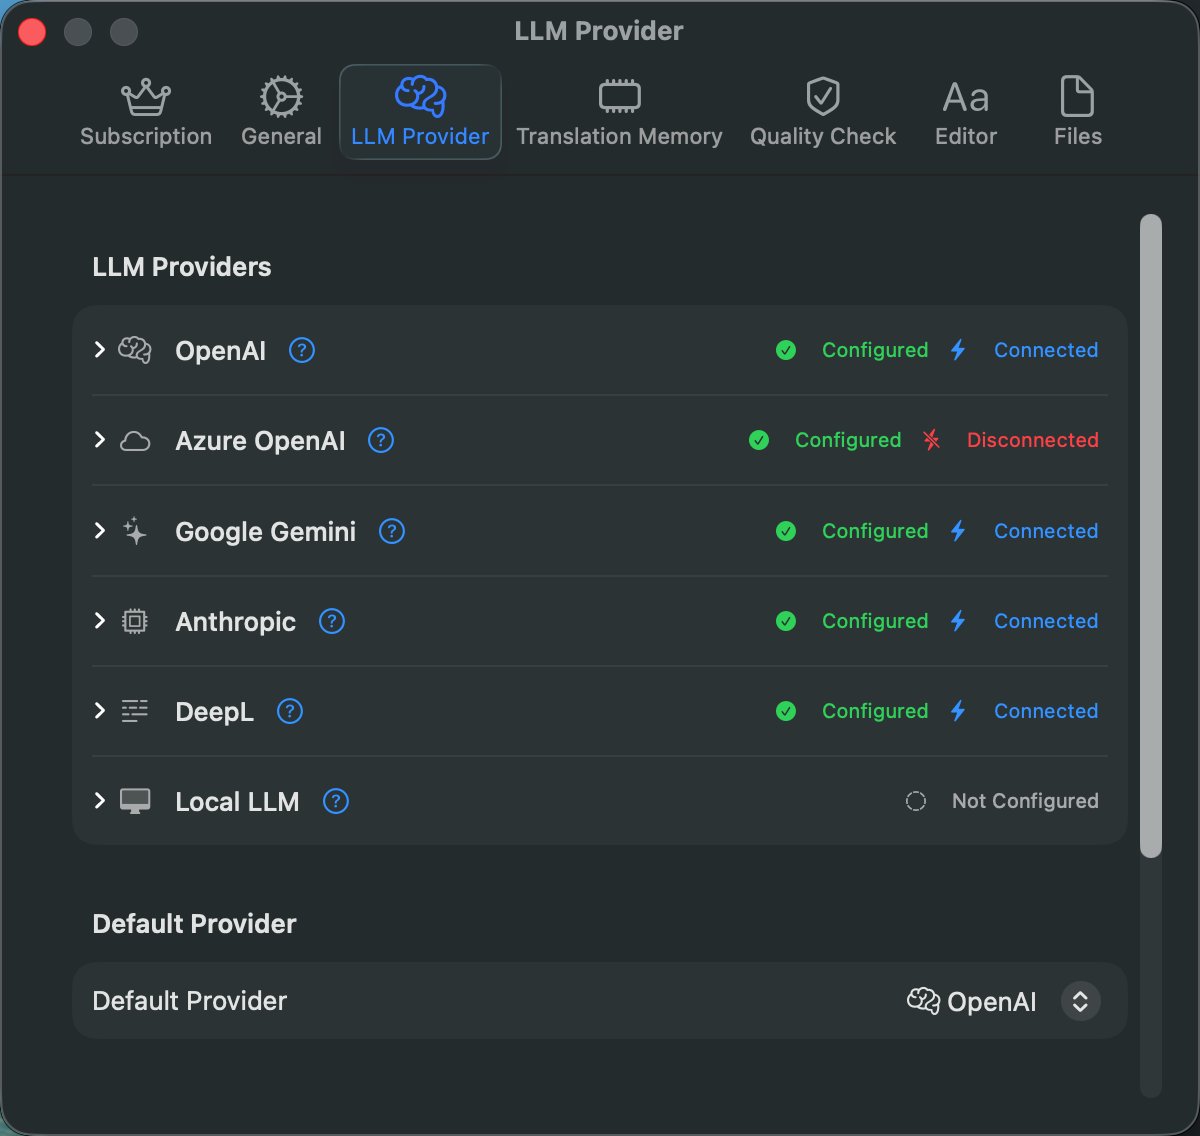
Configure each AI translation provider. Each provider has its own card with an API key field, model selection, and a Test Connection button. Status badges show:
- Configured (green) — API key is saved.
- Connected (blue) — Last test request succeeded.
- Disconnected (red) — Test request failed.
- Not Configured (gray) — No API key saved yet.
The Default Provider dropdown at the bottom selects which configured provider is used by default for new projects. Per-project overrides are set in the sidebar’s LLM dropdown.
For setup instructions, supported models, and detailed provider notes, see the AI Translation page.
Translation Memory
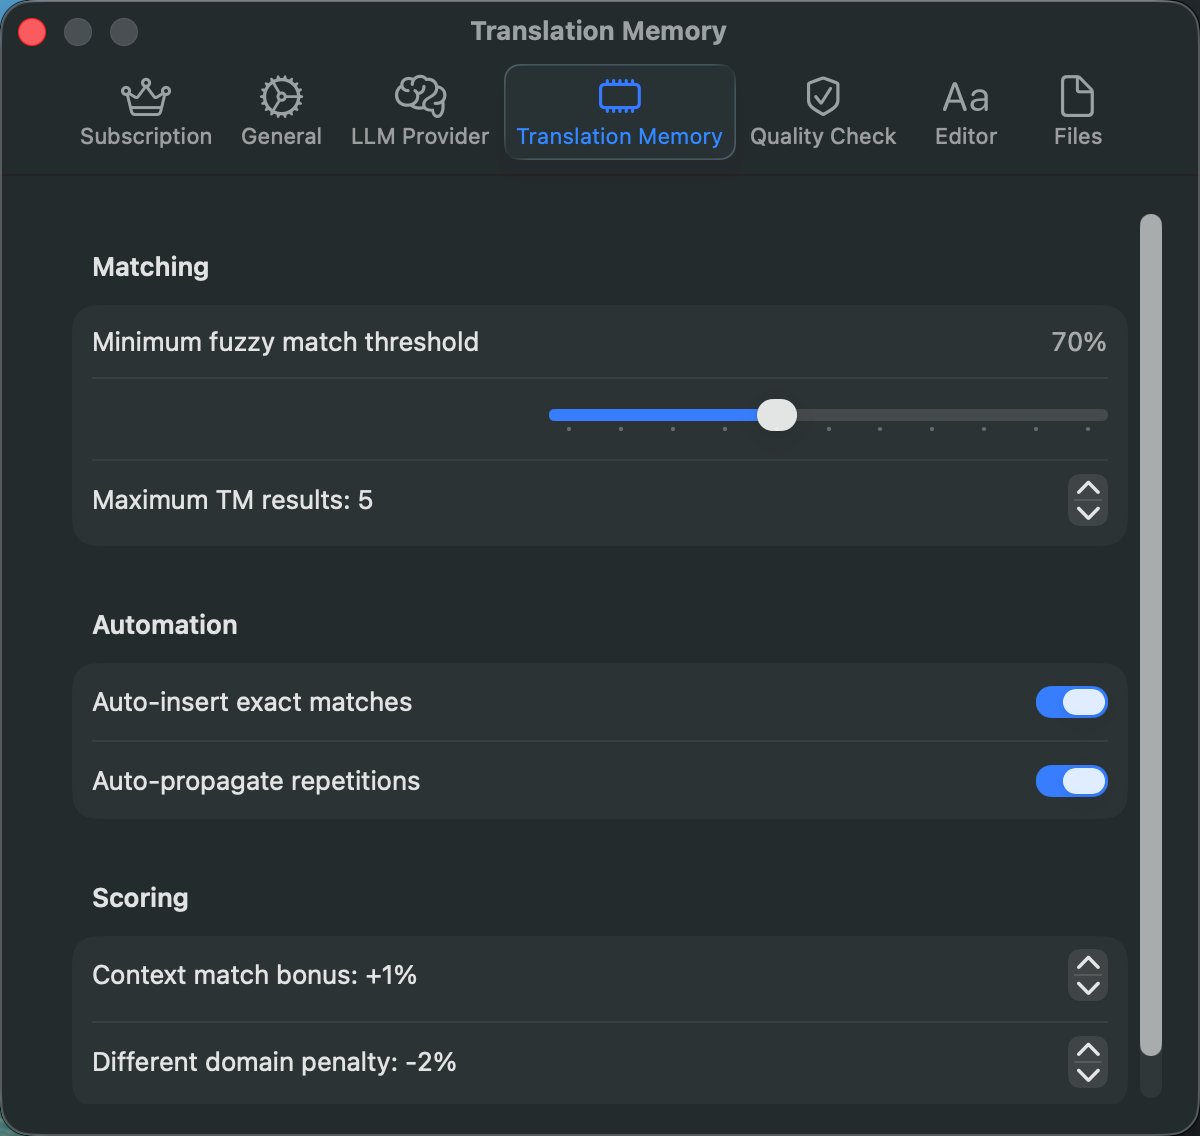
Matching
- Minimum fuzzy match threshold — Matches below this percentage are not shown (default 70%, configurable from 0–100%).
- Maximum TM results — How many matches to display per segment in the TM tab (default 5, range 1–20).
Automation (Premium)
- Auto-insert exact matches — When enabled, 100% TM matches are automatically inserted into the target field on import or when entering a segment.
- Auto-propagate repetitions — When you confirm a translation, identical segments throughout the file are updated with the same target text and a TM match badge.
Scoring
- Context match bonus — Extra match percentage added when surrounding segments also match (default +1%).
- Different domain penalty — Match percentage reduction when the TM entry is from a different project domain (default −2%).
Quality Check
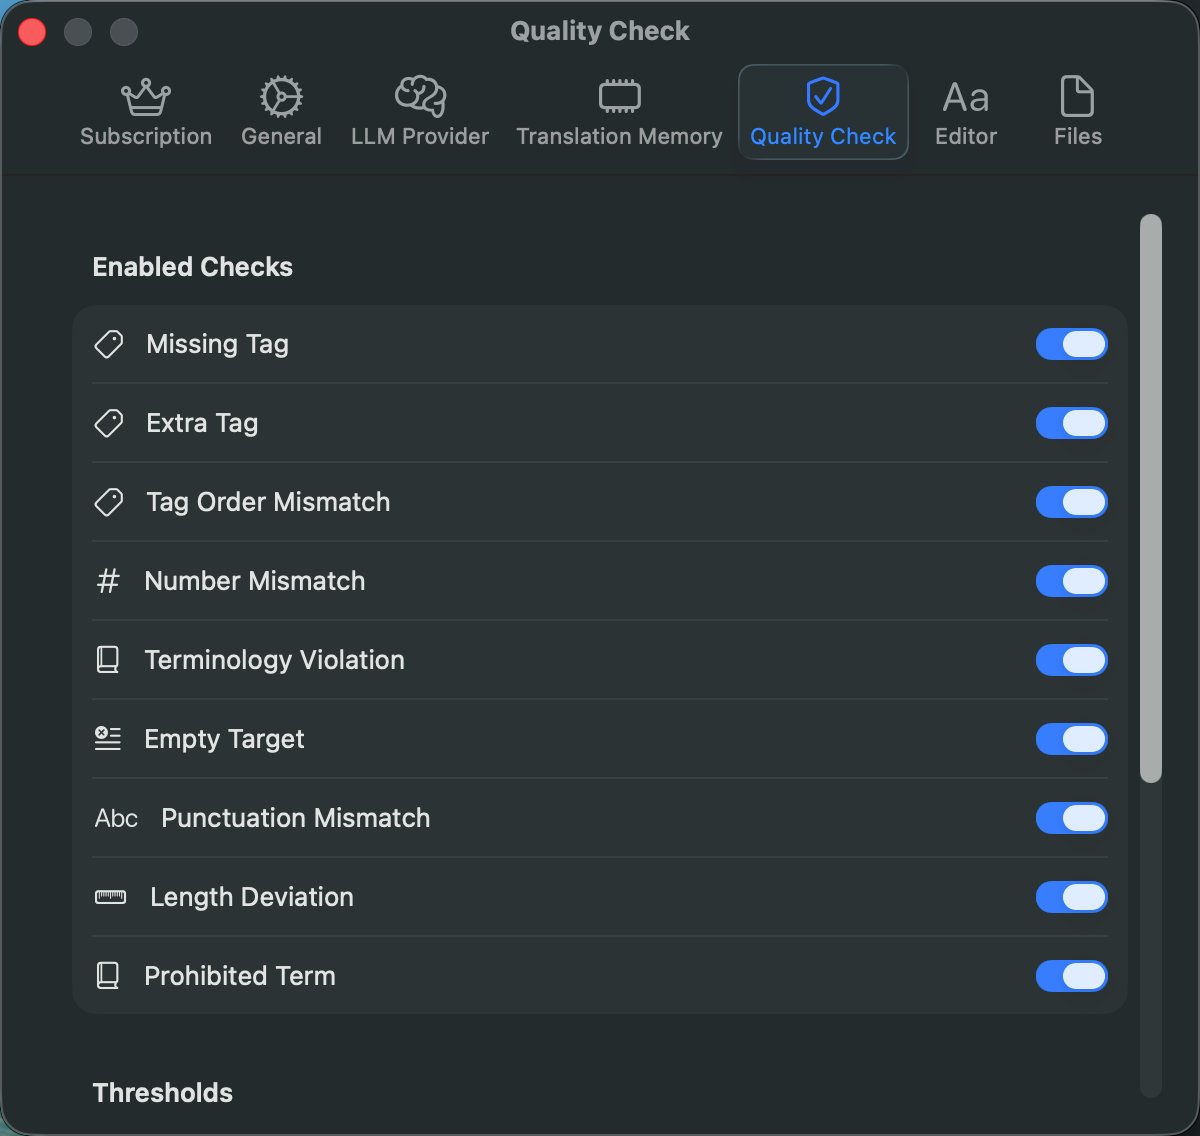
Enabled Checks
Each of the nine QA checks can be individually enabled or disabled. See the Quality Assurance page for what each check does.
Thresholds
- Length deviation threshold — Percentage of length difference that triggers the Length Deviation check (default 30%, range 10–100%).
Editor
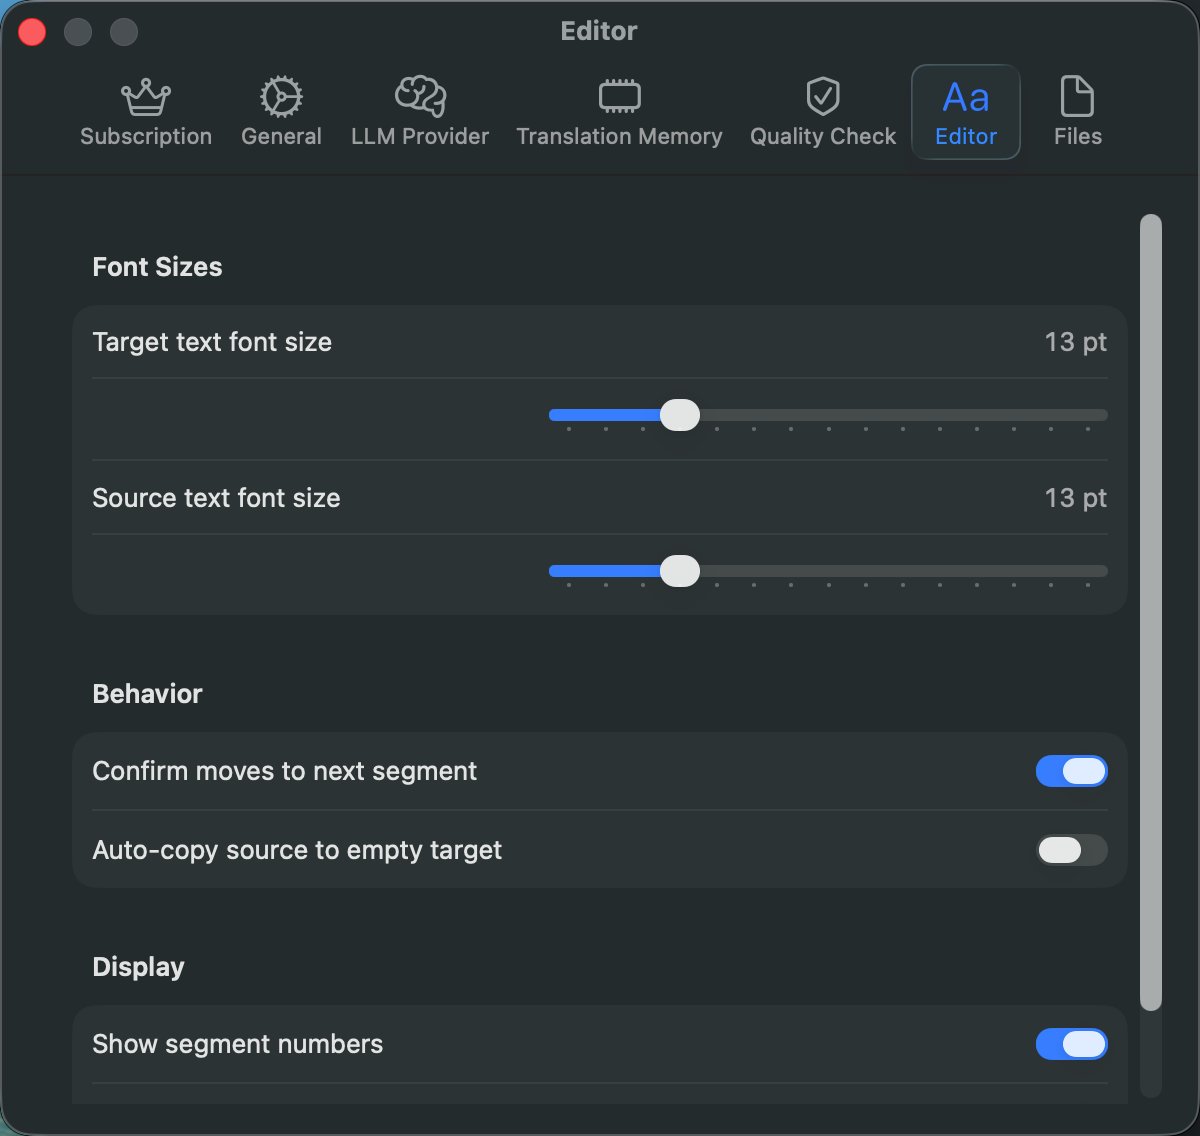
Font Sizes
- Source text font size — Size of source segment text (default 13pt).
- Target text font size — Size of target segment text (default 13pt).
Behavior
- Confirm moves to next segment — When enabled, pressing ⌘↩ moves focus to the next segment after confirming.
- Auto-copy source to empty target — When enabled, source text is automatically copied to empty target fields when you select a segment.
Display
- Show segment numbers — Toggles the segment number column in the editor.
Files
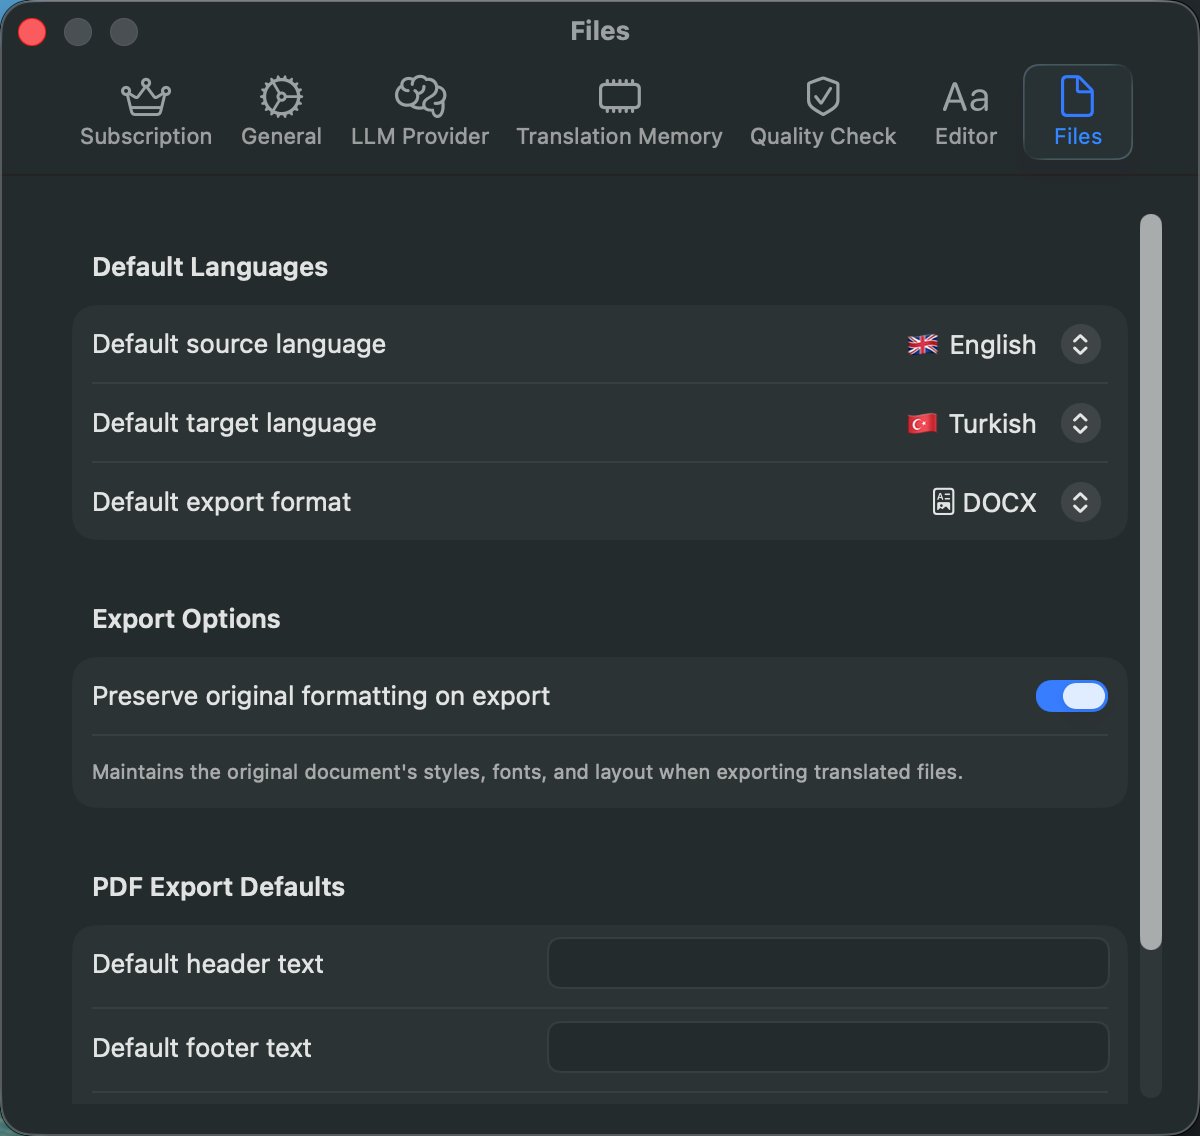
Default Languages
- Default source language — Pre-selected in the New Project dialog.
- Default target language — Pre-selected in the New Project dialog.
- Default export format — Pre-selected when opening the export dialog.
Export Options
- Preserve original formatting on export — When enabled, native-format exports (DOCX/XLSX/PPTX with original) maintain styles, fonts, and layout.
PDF Export Defaults
- Default header text — Pre-fills the header field when exporting to PDF.
- Default footer text — Pre-fills the footer field when exporting to PDF.
These defaults are particularly useful for sworn translators who include the same credentials and certification statements in every translated PDF.